Brick Me Videos
Watch how-tos, useful guides and other fun stuff. You can also Subscribe to Brick Me on YouTube

 1:31
1:31
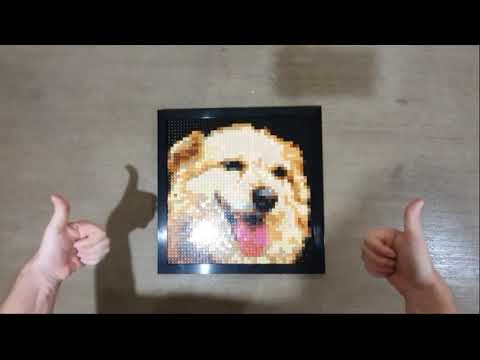
How to assemble the brick me frame
Your beautiful Brick Mosaic deserves a quality frame!
We have frames available for most popular sizes.
If you got a frame from us, here are the instructions on how to put it together:
- Open the white backboard with the double-sided adhesive strips up.
- If the backboard parts are not connected together, turn them around and use adhesive tape to connect them from the back. Make sure the wide rectangles are on the inside, and the narrow rectangles are on the outside.
- Remove the protective layer from the adhesive tape, and attach the mosaic baseplates to the backboard. make sure to align them very well to avoid gaps.
- Turn the backboard and attached mosaic upside down and lay facing down.
- Locate the corner brackets: 4 pressure brackets (one middle hole) and 4 screw brackets (2 holes in the sides).
- Insert the small screws into all the screw brackets - 2 screws for each bracket.
- Layout the 4 frame rails with the front side down and identify the rail that fits the bottom of the picture (short rail for portrait, long rail for landscape, or any rail for square).
- Slide the bottom rail onto the bottom of the mosaic.
- With a screw bracket on top (screws face up) and a pressure bracket under it, slide both brackets into the side of the rail, and slightly tighten the screw with a screwdriver so the brackets stay in place (do not fully tighten yet). Repeat for the other side of the rail.
- Slide the two side rails onto the sides of the mosaic and the exposed brackets angles and tighten.
- Locate the two picture hanging brackets and combine each with a screw, then insert into the remaining top rail (with brackets aimed down) by tilting them down and then locking them in place by tightening the screw.
- Repeat step 9 for the top frame rail.
- Slide the top frame rail onto the top side of the mosaic and into the side rails, and tighten the screws.
- Inspect all corners of the frame and align to avoid gaps, then fully tighten all screws.
- With the frame still facing down, insert the tension springs between the frame and backboard in order to hold the mosaic and backboard in place.
- You're done!

 0:55
0:55
Unboxing simplify create inspire
Watch Holly Unbox her Brick Me kit and build a beautiful Brick Me mosaic! Holly is a lifestyle and parenting blogger based in Brisbane, Australia. Check out her website 'Simplify Create Inspire' here: https://www.simplifycreateinspire.com/